
In this article, the introduction of recommended initial settings that you should set before modeling in Blender.
The initial settings that Toha changed while working with Blender to make it easier to use.
If you are going to start modeling with Blender, it would be a good idea to start with the recommended initial settings described in this article.
Of course, what is presented here is not absolute. I hope that you will continue to add things not mentioned here to your default settings as needed.
Let us now look at the recommended initial settings.
- Change the focal length of the 3D viewport
- Check the start of the range in the 3D viewport
- Hide cameras, lights, 3D cursors, etc. in the 3D viewport
- Undo [Ctrl+Z] to increase the number of times you can return
- Change auto save settings
- Uncheck Lock object mode
- Display polygon count
- Hide the back side of the polygon
- Important! Save the startup file
- Summary: Set up Blender’s initial settings for comfortable modeling!
Change the focal length of the 3D viewport

When you are ready to start modeling, there is one thing you must check before you do so.
That is the “focal length” of the 3D viewport.
(*Depending on the 3DCG software you are using, it may be “angle of view” or “viewing angle”.)
In Blender, you can check the focal length of the 3D viewport from the sidebar.
Press the N key on your keyboard to display the sidebar, and you will find the focal length item in the “View” tab. (*Sidebar display/non-display when using Industry compatible keymap is Ctrl+])
The default setting is “focal length = 50mm”, change this to about “focal length = 150mm”. (between 150mm and 200mm to your liking)

The shorter the focal length, the more distorted the image will be when the camera gets close.
The longer the focal length, the less distorted the image is when the camera gets close.
This “distortion” is, in other words, “perspective.
Those who do cameras or paint may be familiar with the term.
- It is difficult to do modeling when things appear distorted.
- Longer focal lengths make things look distorted.
It is recommended to set a longer focal length, especially when modeling characters and other objects.
Here, the focal length of the 3D viewport is set to 150 mm.
In another article, I wrote about how the 3D model looks different with 50mm & 150mm focal lengths.
If you’re curious, the 3D viewport angle of view issue Please take a look at this~!
CGWORLD.jp also has an article on focal length when modeling.

Check the start of the range in the 3D viewport
Now, under the “Focal Length” item in the sidebar, there is a section called “Start of Range”. In addition, please check the value here.
If you have a recent Blender, the default setting is “Start of range = 0.01m”.
If the “start of range = 0.1 m” or something like that, it is recommended to change the setting to a shorter distance.

When modeling in Blender, sometimes when you zoom in too much, parts of the object disappear from the screen, but you can avoid this by keeping the “Start of Range” value small.
Hide cameras, lights, 3D cursors, etc. in the 3D viewport

When you open Blender, the default display looks like this.
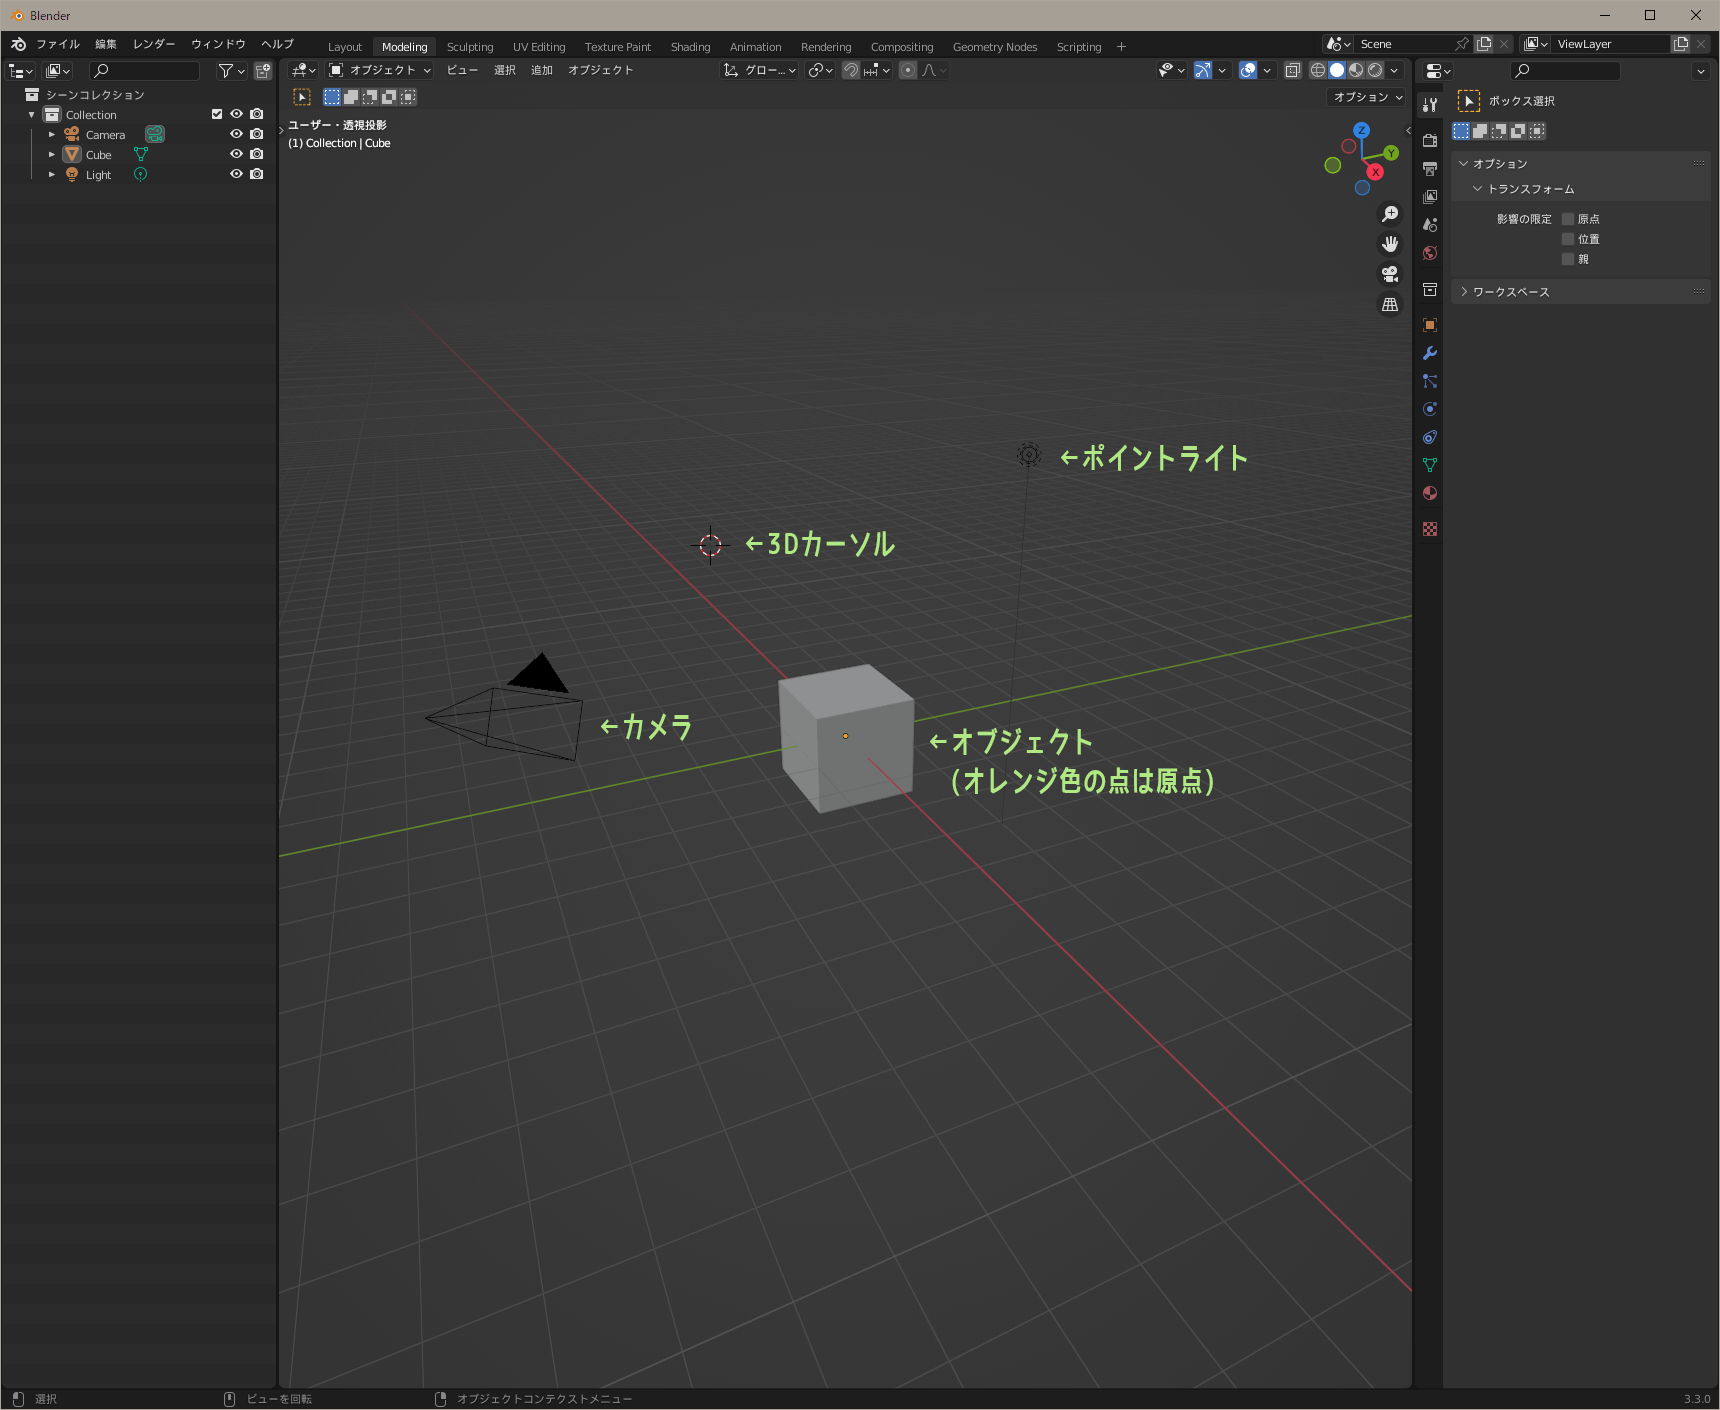
The default camera, light, and 3D cursor displays are annoying and should be hidden.
Personally, I would also like to remove the object origin indicator (orange dot) as I don’t need it now.
First, in the Outliner, click on the eyeball symbol next to Camera and Light. This will hide the camera and point light in the 3D viewport.
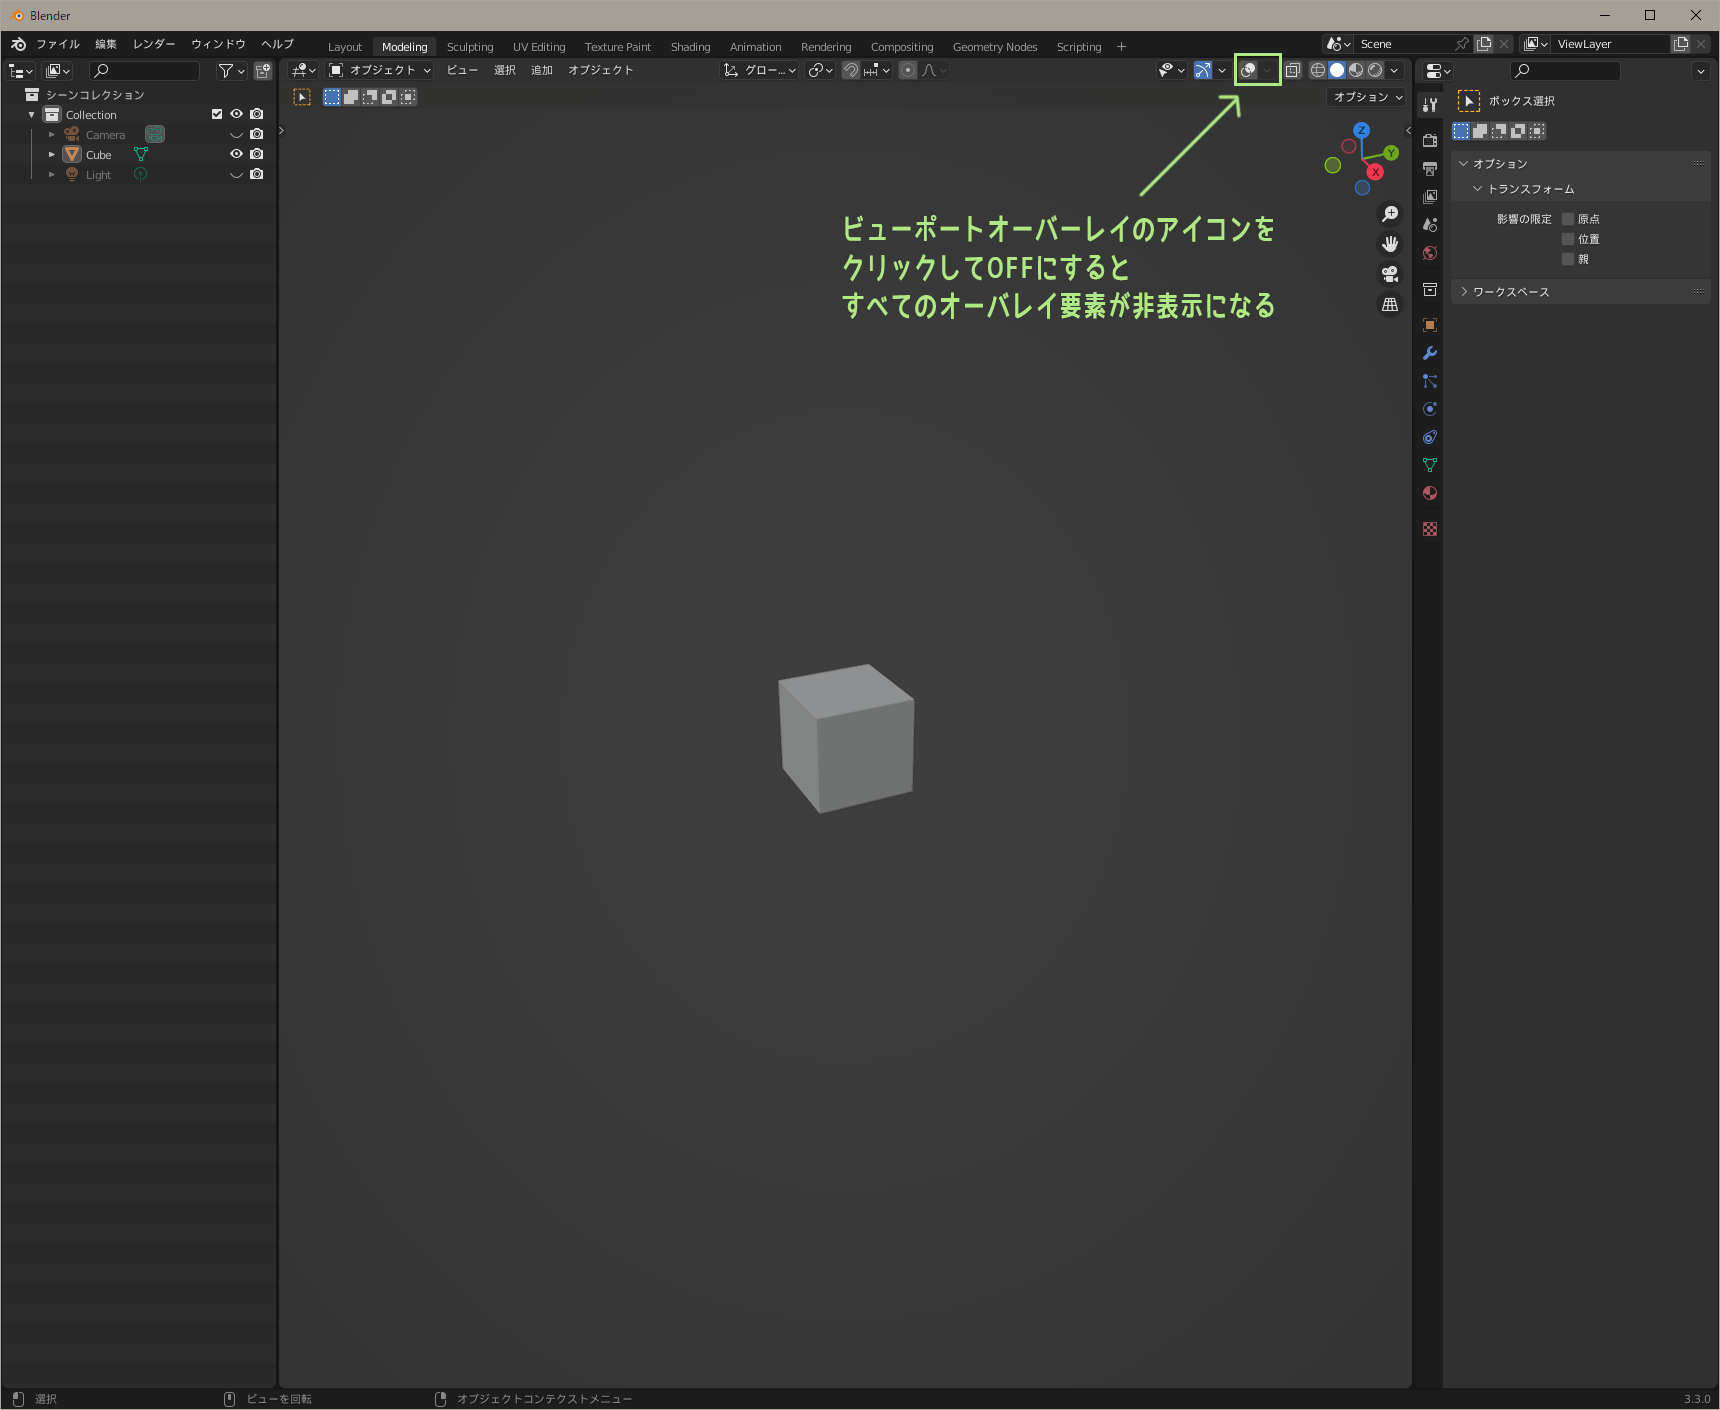
Next, click on the third icon from the left in the row of icons in the upper right corner of the viewport.
This will open a window called Viewport Overlay. Unchecking the 3D cursor and origin here hides the 3D cursor and the orange dot in the middle of the object.

In Blender, almost everything visible in the 3D viewport can be managed by the icons in the upper right corner of the viewport.
If you take a closer look inside the viewport overlay you just opened, you’ll see that the
Floor, coordinate axes, selection outline, wireframe, and
There are also check boxes for the following items. By turning these checkboxes On/Off, you can show/hide each of them.
You can also hide all overlay elements displayed in the viewport by clicking on the viewport overlay icon itself.
For now, it is good to remember that the elements visible in the viewport can be set using the icons in the upper right corner of the viewport.
*If you want to know a little more about Blender Modeling [Knowledge], please see the article How to use the header menu.
Undo [Ctrl+Z] to increase the number of times you can return

When you have done something in Blender, press Ctrl+Z on your keyboard once to Undo will return you to the previous working state. (To undo undo redo, press Ctrl+Shift+Z)
You can return to the previous state as many times as you undo, but the default limit on the number of times you can return is 32.
In fact, when working, I come across situations where I want to go back to a previous state more than 32 times. Personally, I would like to be able to go back 50 to 100 times.
Therefore, the maximum number of undo will be changed.
From the top menu, use Edit→Preferences to open a window and select System.
▽In the Memory and Limit column, there is an item for “Undo Count,” so change the default of 32 to 50-100.

It seems that too many undo cycles consume memory, but Toha is not sure how much more and what the effect will be.
I think it depends on the specs of the computer you are using, so if you do more undo and Blender starts acting strangely, just undo it or reduce the number of undo a little.
Change auto save settings
Next, change the autosave settings.
Blender is set by default to automatically save temporary files every 2 minutes.
Select Save & Load in the preferences you just opened. Here you will find the “Auto Save” field.
First, if you do not want automatic saving, uncheck the “Auto Save” checkbox. If you want the file to be saved automatically, set the number of minutes in the “Timer (minutes)” field to automatically save the file every minute.

If you want to save the file automatically, you can further set the location where the temporary file will be saved.
In Preferences, under Save & Load, select File Path. In the Data column, there is a Temporary Files section where you can set the location to save the temporary files.

Please save the modified preference settings automatically or manually from the ≡ symbol in the lower left corner.
Also, in the “Save Version” section of the Save & Load settings, you can set whether version data is automatically created when a Blender scene is manually saved can be set.

The default setting is “1”. When a Blender scene is saved in this state, version data (extension .blend1) is automatically created separately from the saved data (extension .blend).
If the number of versions is increased, more version data will be created .blend2, .blend3… and so on.
If the value of Save Version is set to “0”, these data will no longer be automatically created.
I don’t use auto-save & set it not to create version data, but he says that Blender’s save-related processing is so light that he does not mind even if save data is created frequently.
It is safer to have the auto-save! I think it would be good to use it if you are sure that you want to use it.
Blender’s auto-save and how to restore from version data are explained in detail in Boukyakuno’s article. If you want to know more details, please take a look~

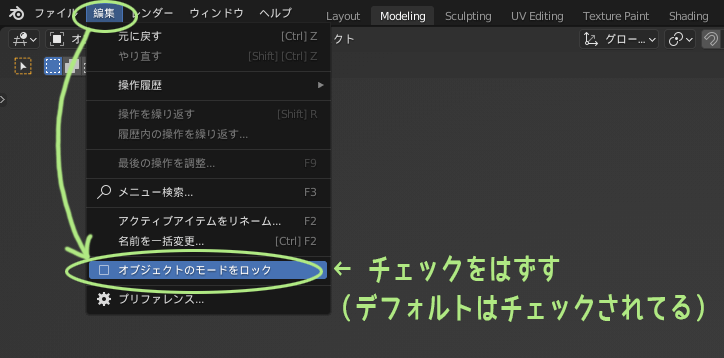
Uncheck Lock object mode

Click [Edit] from the top menu in Blender to open the popup, second from the bottom. There is an item titled “Lock Object Mode. Uncheck this box.
If this is checked, it is a bit cumbersome when working with armatures (bones).
Armatures are often used in a mode called Pose Mode, where they can be rotated, etc. When lock object mode is checked, other objects cannot be selected if the armature is still in Pose Mode.
When lock object mode is checked ON↓
When working on a 3D model with armatures and weights so that it can be moved, there are various inconveniences if this check box is left ON.
When the Lock object mode is unchecked, you can select other objects while the armature is in Pose mode like this
When lock object mode is checked OFF↓
There doesn’t seem to be any particular disadvantage to having the check turned off. I think it’s okay to turn it off from the beginning so that you don’t have to worry about not being able to select an object later on.
Display polygon count

There is a “Statistics” item in the Viewport Overlay.
When statistics are turned on, polygon counts and other information are displayed in the upper left corner of the 3D viewport.
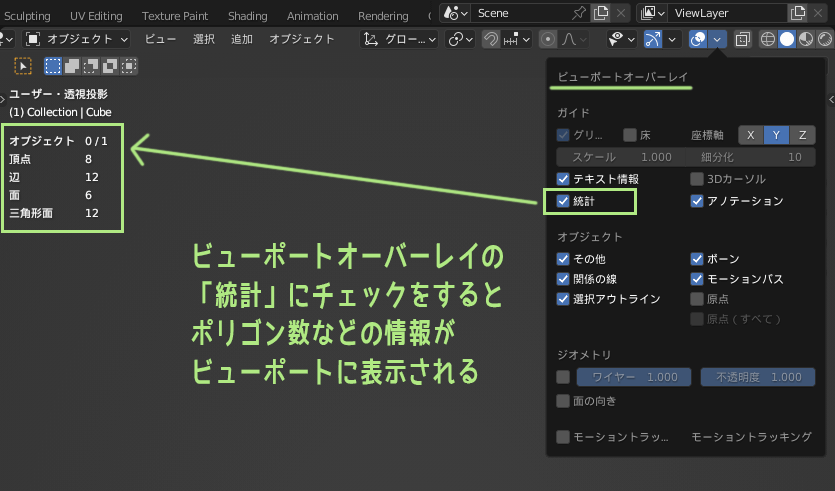
By the way, the number of polygons is the number of “triangulated surfaces”.
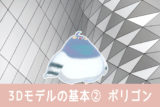
For more information on why a triangular surface is the number of polygons instead of a plane, please read Basics of 3D models 2) – The 3DCG World is a Collection of Polygons.
Hide the back side of the polygon

Polygons usually have a back and front and are transparent and invisible when viewed from the back.
We talked about this in the article I mentioned earlier, Basics of 3D models 2) – The 3DCG World is a Collection of Polygons.
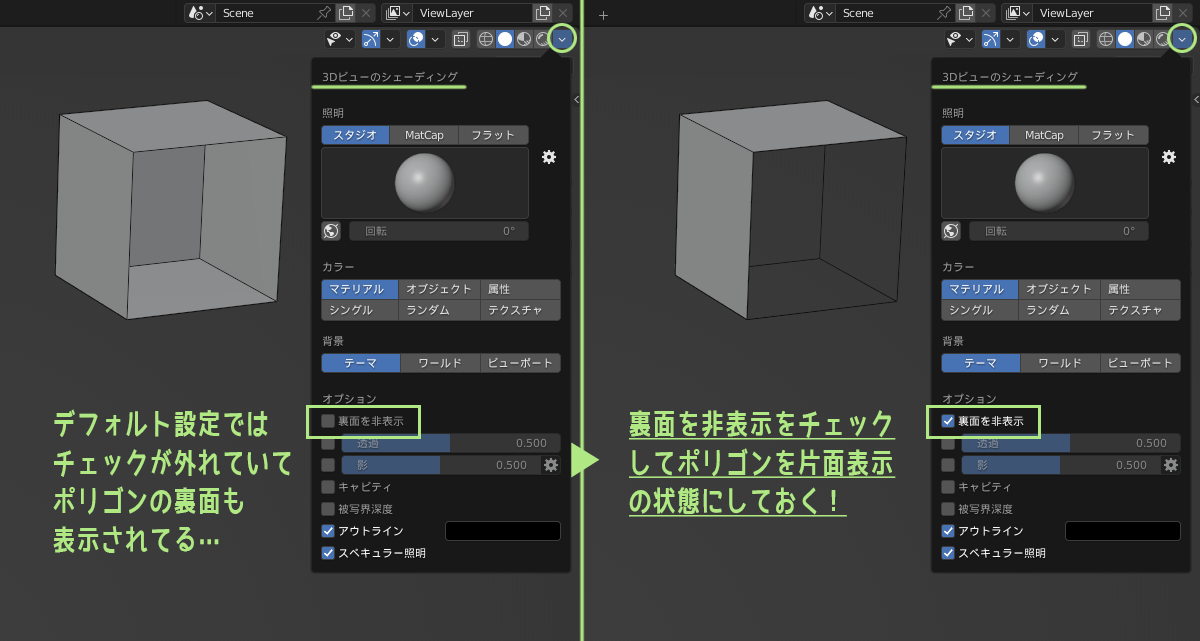
However, Blender’s default setting is to display the polygon’s backside.
For Toha, which mainly produces 3DCG for games, polygons are displayed on one side, so we would like to keep polygons displayed on one side in Blender.
To do this, first, click on the “▽” in the 3D View shading in the upper right corner of the viewport.
In the window that opens, check the “Hide back side” checkbox. This will make the polygon appear one-sided.
Important! Save the startup file

This Getting Started with Blender series is being used as a START Blender 1) – Customize UI and Make It Easy to Use may be familiar to those of you who have been reading us since.
After changing the settings to your liking, remember to save the startup file.
To do this, click on File→Default→Save Startup File from the top menu, then click “Overwrite” when the confirmation window asks if you want to overwrite the file.

Now that everything is saved, the initial settings are properly remembered even when you exit Blender.
Summary: Set up Blender’s initial settings for comfortable modeling!

The recommended initial settings in this article can be summarized as follows.
- 3D viewport “focal length” set to 150mm
- Check if the “Start of range” in the 3D viewport is 0.01m
- Adjusts show/hide of visible elements in the 3D viewport
- Set the number of times you can undo back to about 50-100 times.
- Autosave/no Autosave, and if autosave, set save interval and location
- Uncheck Lock object mode
- Display polygon count in the 3D viewport
- Hide the back side of the polygon
The focal length of the viewport is especially important to note every time you create a 3D model.
Since I set the focal length to a long value as the default setting, I think I will not inadvertently model in a viewport with a short focal length.
Once you have customized Blender to your liking, the next step is to operate Blender.
START Blender 4) – Basic Operations! The First Thing to Learn, The basic operation of Blender is summarized on the following page. Please try to operate it while looking at this 🙂
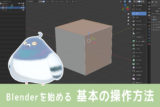
Start with the basics.
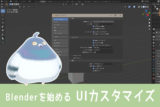
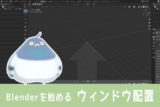
If you have not yet customized your UI and windows, please read the previous and previous articles as well.
Blender UI customization ↓
Customize Blender window placement ↓

- Coments - コメント一覧